

In this guide, we'll build a blog CMS powered by a Notion database. With Bolt and Pica, you can create a beautiful, dynamic blog in minutes—using Notion as your content management system.
What You'll Build
By the end of this tutorial, you'll have:
- A beautiful blog page with article cards (image, title, description)
- Dynamic content powered by your Notion database
- Individual blog post pages when clicking on cards
- Production-ready error handling
Let's get started! 🚀
Step 1: Build the Blog UI
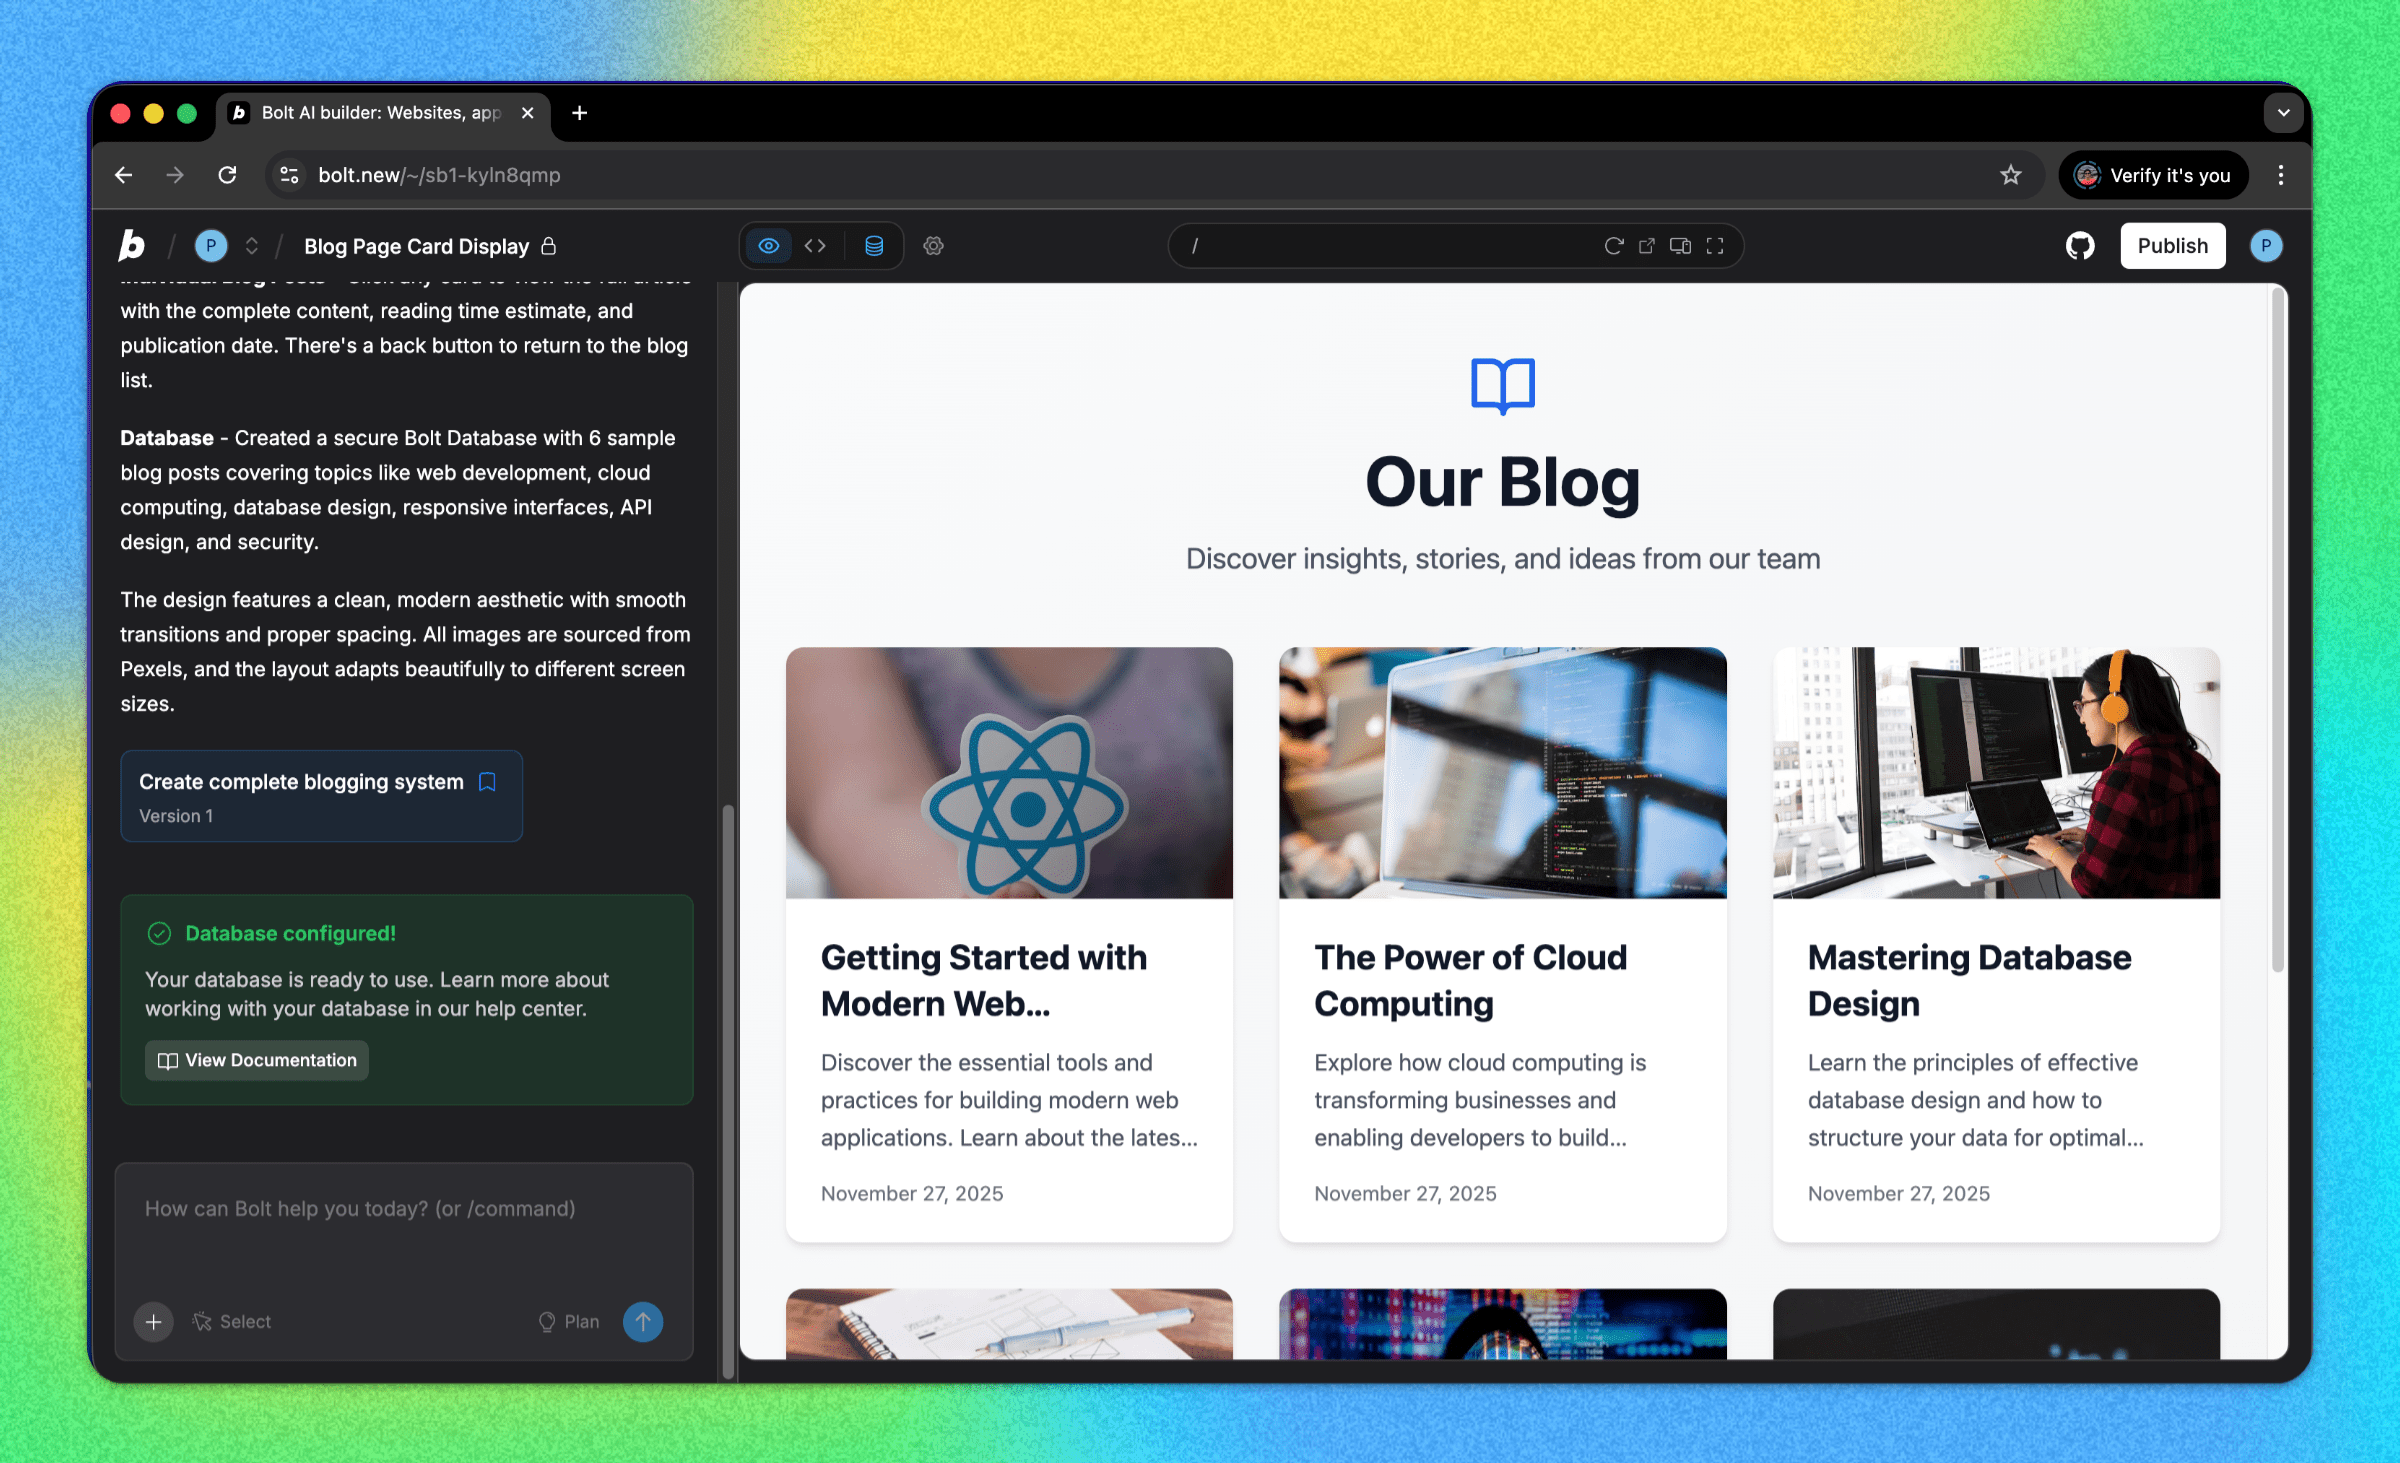
First, let's create a clean, professional blog page with article cards.
Prompt Bolt:
"Build me a blog page that has articles listed in cards with an image, title, and truncated description. For now, this is all static dummy data. When I click on a card, it should open that blog in a new page."
Bolt will generate a beautiful, responsive blog layout with article cards and navigation.
Step 2: Create a Database in Notion
Now let's set up your Notion database to store your blog content.
Creating Your Database:
- Go to Notion and create a new page
- Use the Document Hub template or create a new database
- Your database should have these columns:
- Name (Title) - The blog post title
- Description (Text) - A brief description of the post

Adding an Image Column:
- Click the + button to add a new column
- Select Files & media as the column type
- Name it image
- Upload images to each of your blog posts

Step 3: Create a Notion Connection in Pica
You need to connect your Notion account to Pica so your blog can fetch content from your database.
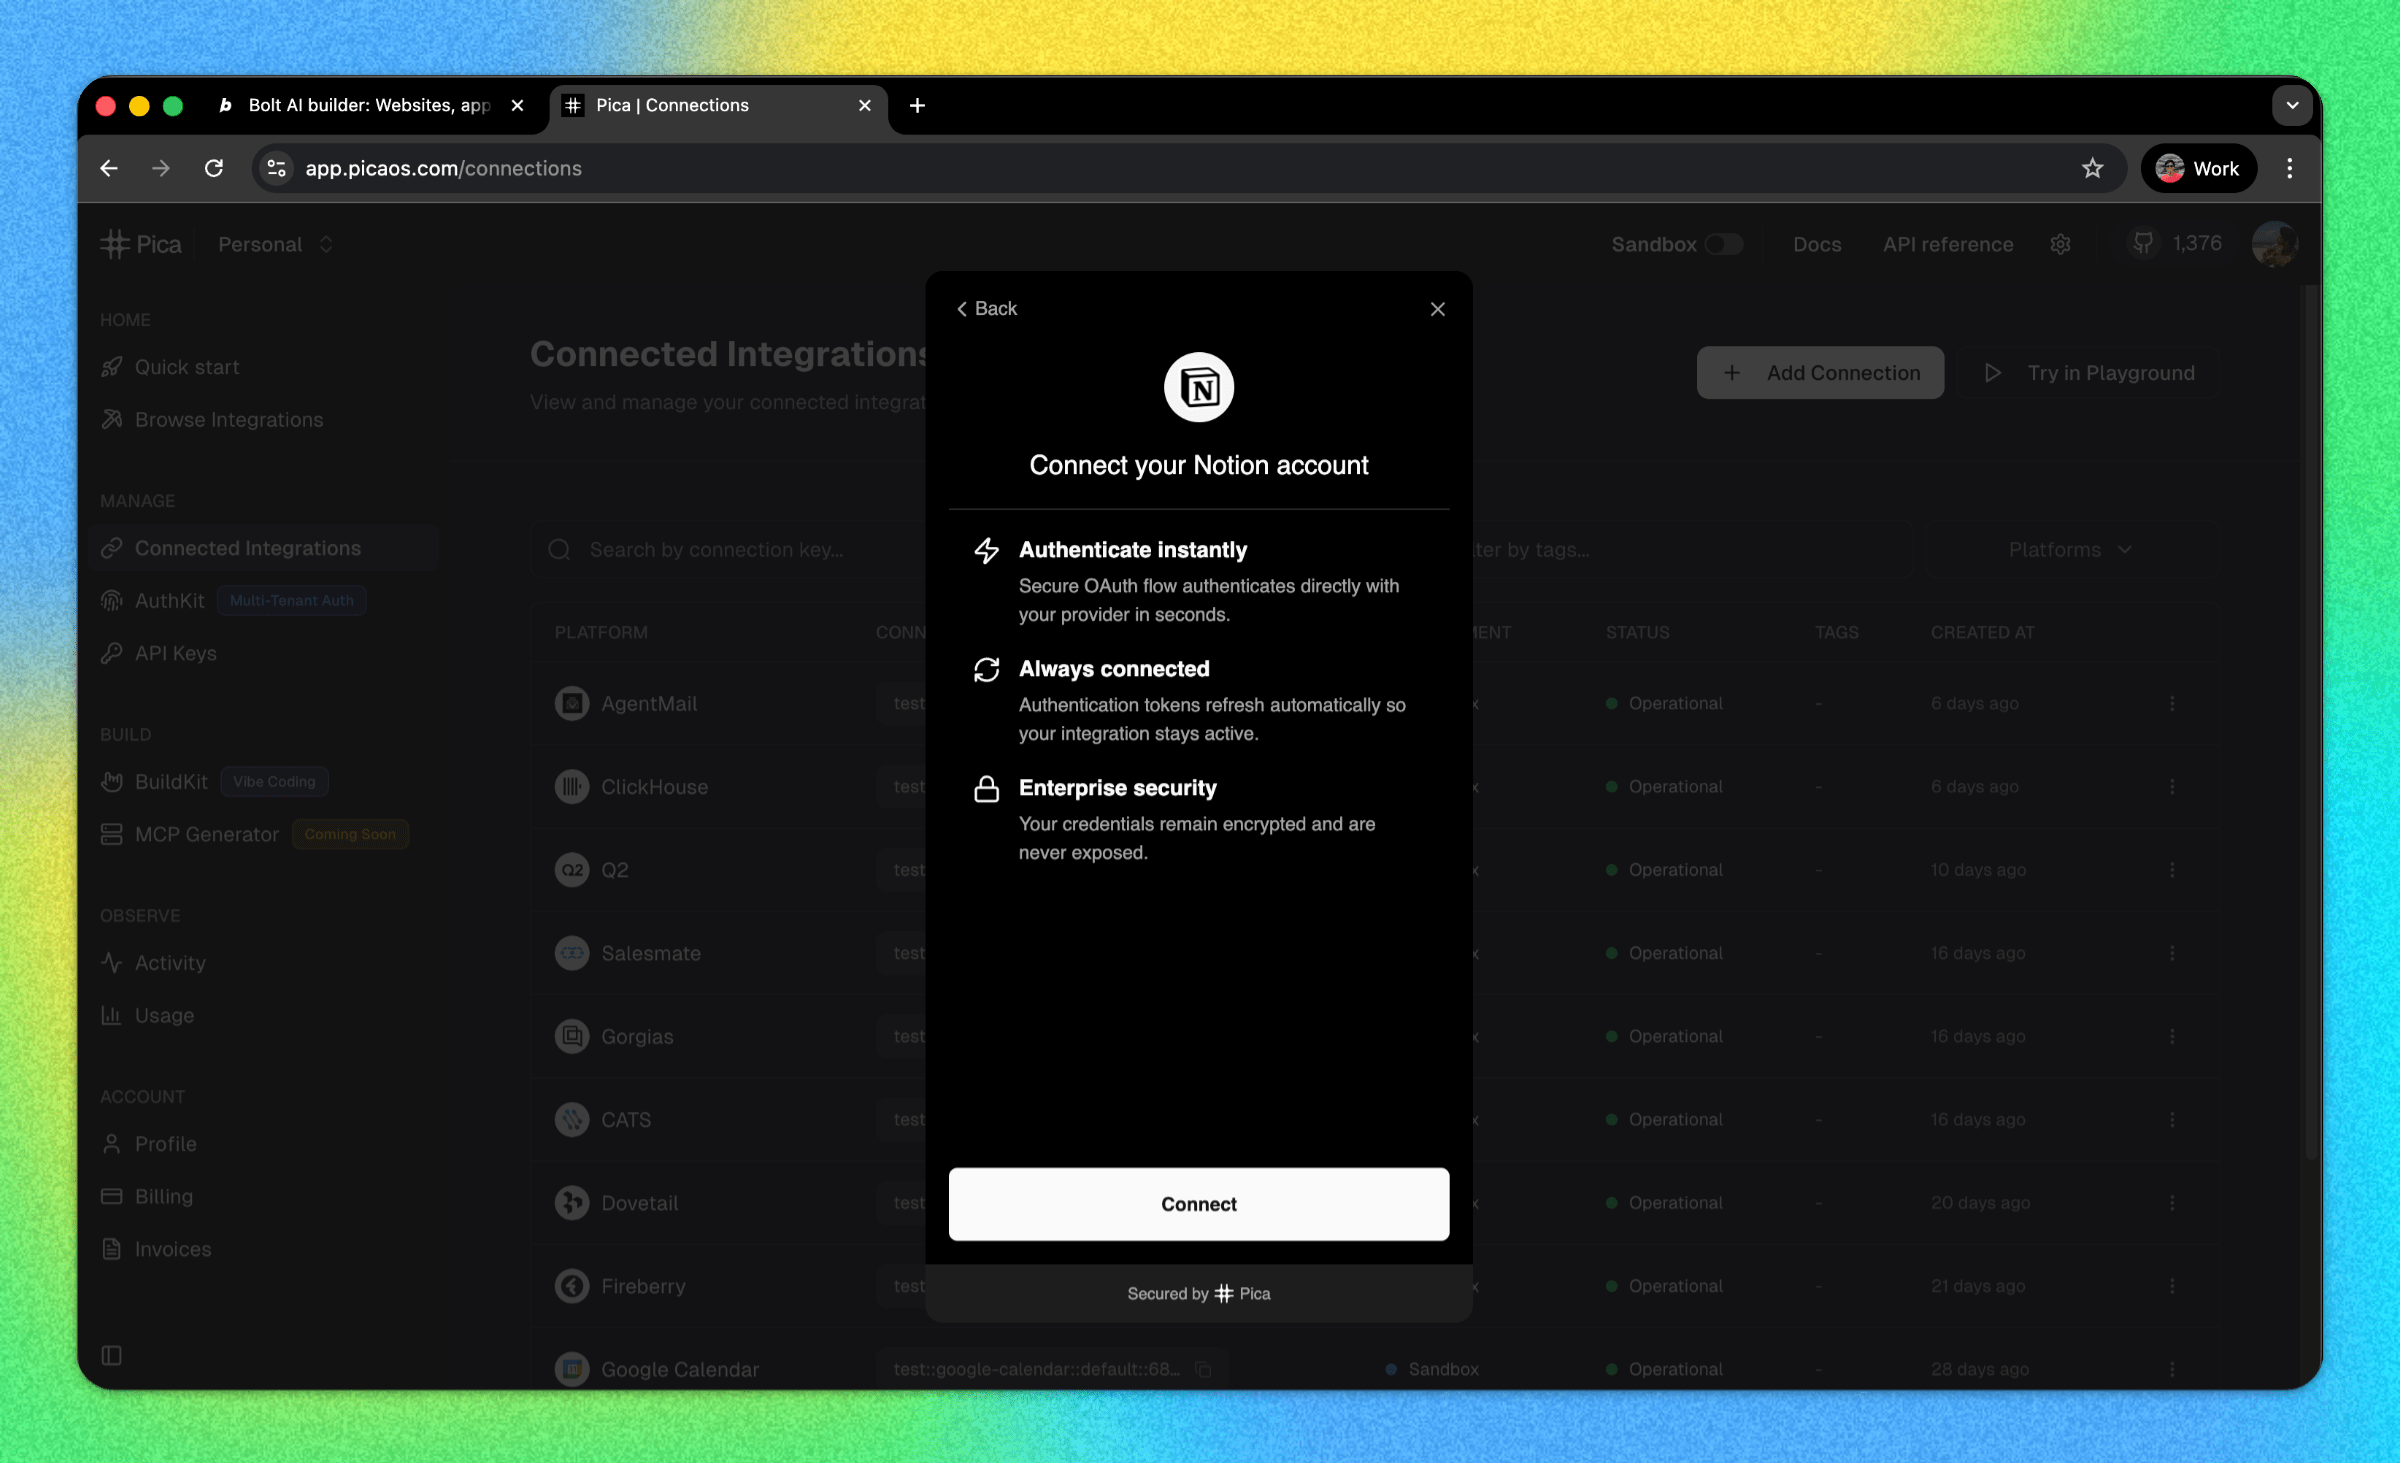
How to Connect Notion:
- Go to the Pica dashboard at: app.picaos.com/connections
- Click on
+ Add Connection - Select
Notionfrom the list of integrations - Authenticate with your Notion account
- Grant access to your database when prompted
- Save your connection key - you'll need this later!
Step 4: Copy Your Notion Database ID
To query your Notion database, you'll need to get the database ID.
How to Find Your Database ID:
- Open your Notion database page
- Copy the page URL from your browser
- The URL will look like this:
https://www.notion.so/your-workspace/2b8d524b542c8097b454f66f14d8d630?v=... - The database ID is the 32-character string before the
?v=parameter- Example:
2b8d524b542c8097b454f66f14d8d630
- Example:
Keep this ID handy - you'll need it in the next step!
Step 5: Generate Your Code with BuildKit
Now we'll use Pica BuildKit to generate the perfect prompt for fetching your blog content from Notion.
Using BuildKit:
- Go to the BuildKit page at: app.picaos.com/buildkit
- Type: "Retrieve the notion database [YOUR_NOTION_DATABASE_ID] and get all the items within it. Then also Retrieve block children from a notion page."
- BuildKit will generate an optimized prompt for you
Or copy the prompt here:
Important: Replace YOUR_NOTION_DATABASE_ID in the prompt with your actual database ID from Step 4.
What BuildKit Does:
BuildKit automatically generates a prompt that includes:
- ✅ Proper API authentication setup
- ✅ Notion database query structure
- ✅ Error handling best practices
- ✅ Environment variable configuration
- ✅ Integration with your Pica Notion connection
🚀 Next step: Copy the prompt above and paste it into Bolt.new to create your backend logic!
Step 6: Add Your Secrets to Bolt
Once Bolt generates your application, you'll need to add your API keys as environment variables.
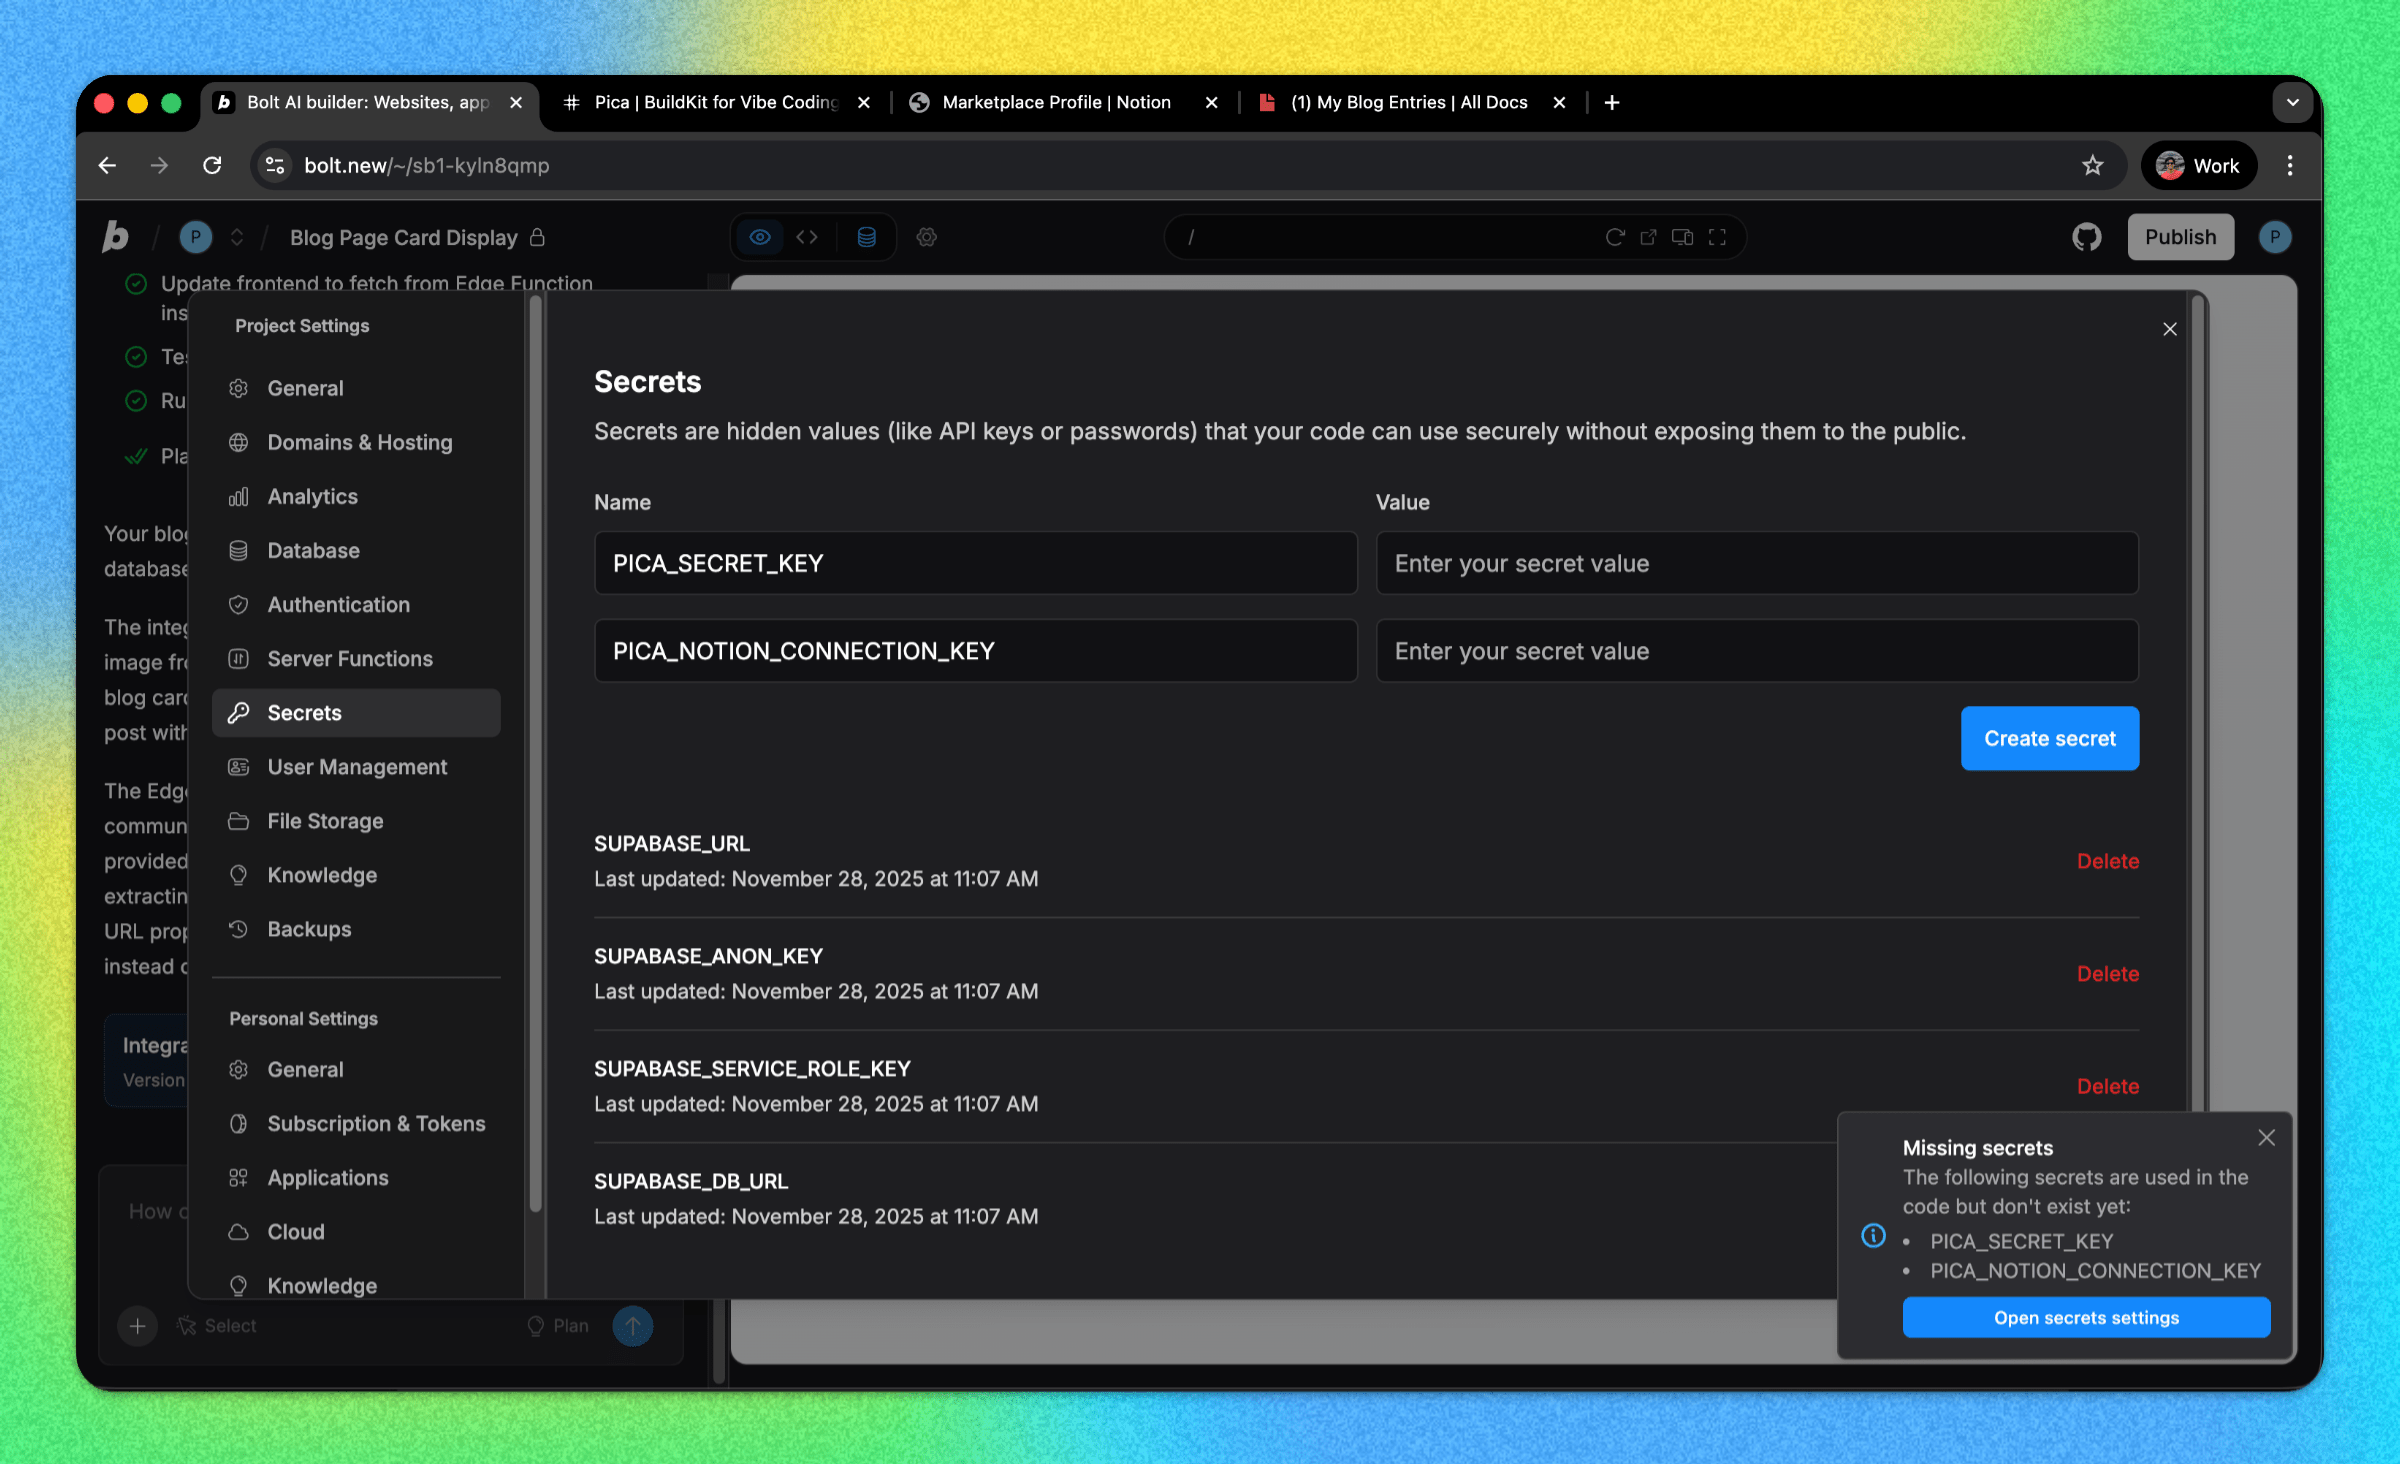
Required Environment Variables:
1. PICA_SECRET_KEY
- Get it from: app.picaos.com/settings/api-keys
- This authenticates your application with Pica
2. PICA_NOTION_CONNECTION_KEY
- Get it from: app.picaos.com/connections
- This is the connection key you saved in Step 3
How to Add Secrets in Bolt:
- Click on the Settings icon in Bolt
- Navigate to Secrets
- Add both keys with their respective values
- Save and restart your application
Now your blog is connected to Notion and will dynamically fetch content from your database! 🎉
Step 7: Customize Your Blog Design
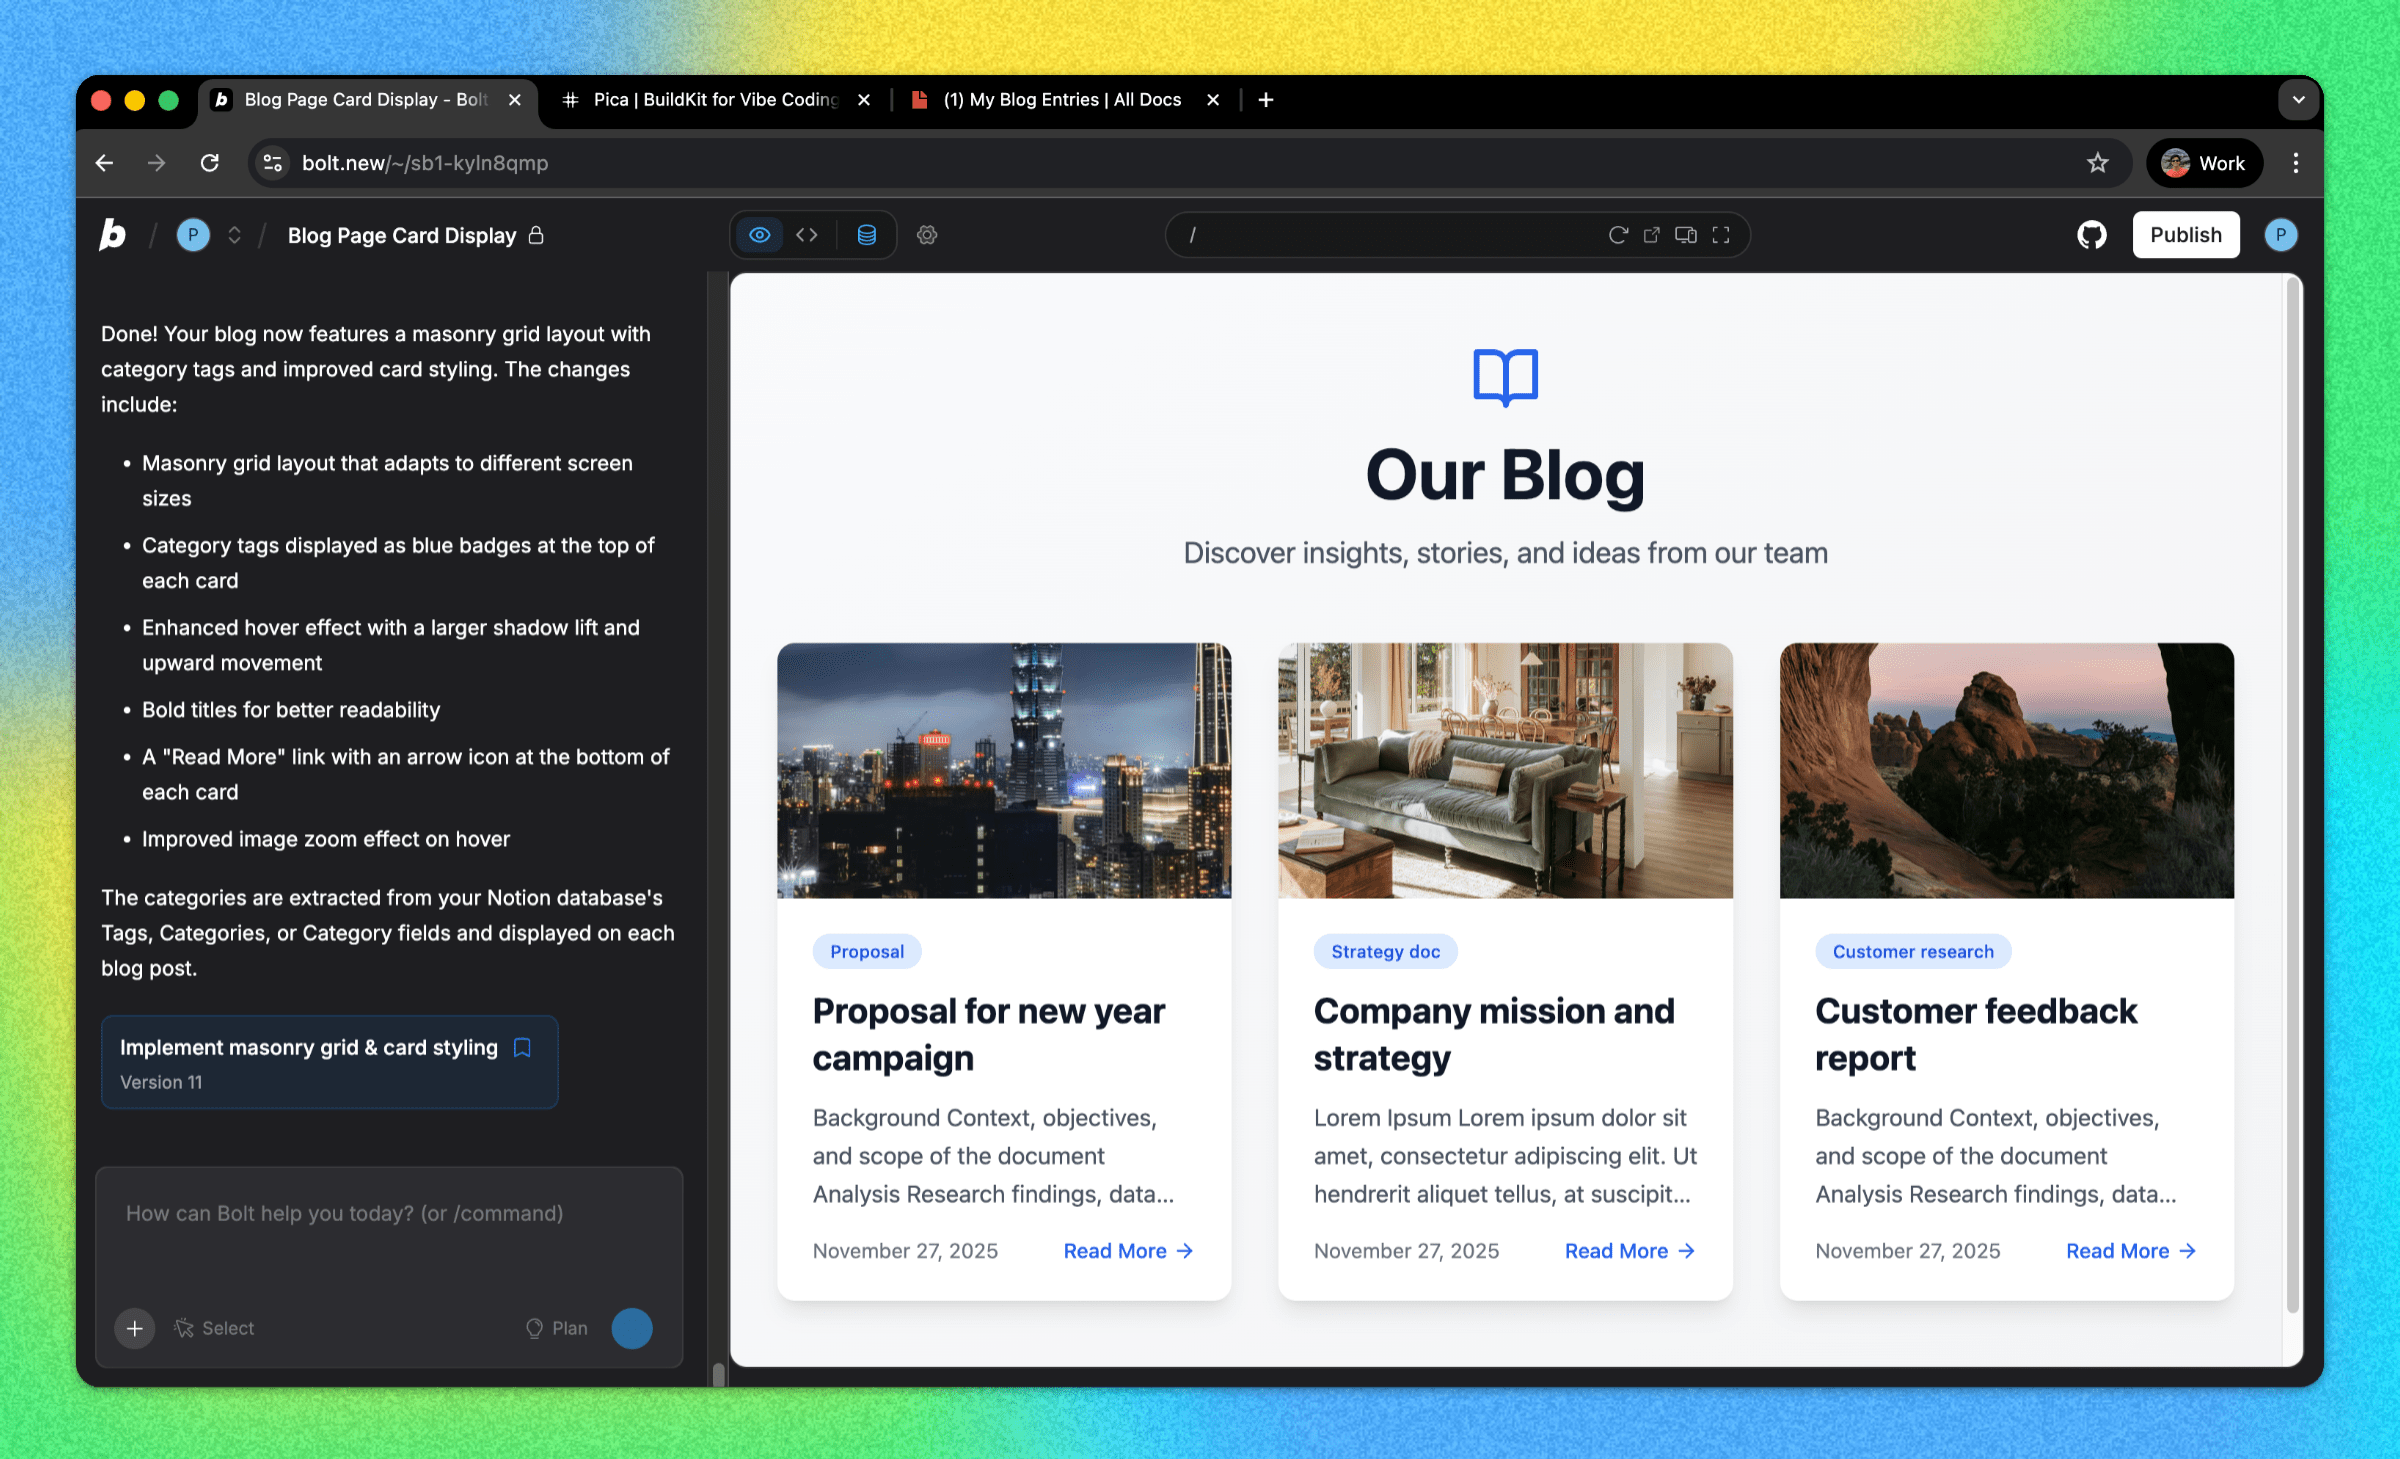
Now that your backend is set up, you can customize the blog design to match your brand! Bolt makes it easy to modify the layout with simple instructions.
Example Customizations:
Try telling Bolt:
"Please update the blog cards to have a hover effect with a subtle shadow lift. Make the title bold and add a 'Read More' link at the bottom of each card."
Or for a different style:
"Change the blog layout to a masonry grid and add category tags to each post."
Bolt will automatically update the design with your preferences!
Troubleshooting
Blog not loading content?
- Check your environment variables - Make sure both keys are set correctly in your Bolt secret settings
- Verify your Notion connection - Go to app.picaos.com/connections and ensure it's active
- Check database permissions - Make sure you granted Pica access to your specific database
- Verify the database ID - Ensure you're using the correct 32-character ID
- Check property names - Property names are case-sensitive (e.g., "Name", "Description", "image")
- Check Pica logs - View execution logs in your Pica dashboard
Images not showing?
Check the image property - Make sure your "image" column is of type "Files & media"
Conclusion
Congratulations! 🎉 You've just built a production-ready blog CMS powered by Notion in minutes. No complex database setup, no separate CMS to manage—just clean, working code with content you can update from Notion.
Your content team can now add, edit, and publish blog posts directly from Notion, and your blog will automatically update!
Ready to add more integrations? Explore other Bolt use cases to supercharge your application with Pica.
Get Help
Questions or need support?
- 📅 Schedule a call with our team
- 📚 Check out the Pica documentation
- 🎥 Watch our video tutorials
Happy building! 🚀